Applying Multiple Textures to a Model
Alright, here's a method of texturing
models that isn't used all that often. This tutorial is designed
for applying multiple textures to a single model, sort of like you would
a map for a Quake map. Instead of mapping out and texturing the whole
model, we're going to break it apart and do each part separately.
This tutorial assumes you've broken the model apart and made the textures
already (since that was the situation when the tutorial was needed).
If you haven't broken the model up, you can do so by going into edit mesh,
then selecting faces and pressing the [detach] button. This breaks
off those faces from the mesh making them a separate mesh. If you
don't have the textures made already, well, it's probably easier to make
them as you go anyway ;)
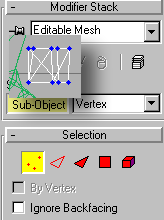
Ok, the first thing you need to do
is select the part of the model you want to texture:
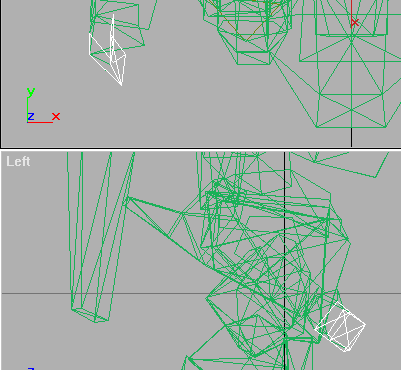
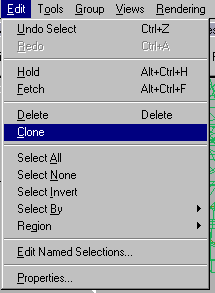
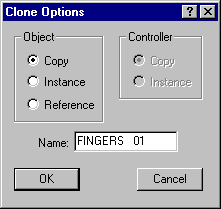
Now clone it (important later):
 . .
Go to the modify tab ( )
and click [Edit Mesh]. You might have to click on [More...] if it's
not on one of the buttons. Rotate, scale, move, or whatever the vertices
until you get a nice square fit (floating section taken from left view). )
and click [Edit Mesh]. You might have to click on [More...] if it's
not on one of the buttons. Rotate, scale, move, or whatever the vertices
until you get a nice square fit (floating section taken from left view).
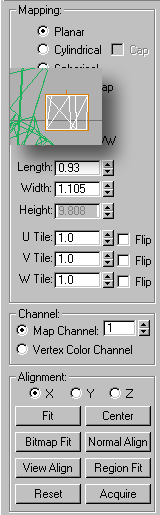
Once you're satisfied, click on [UVW
Mapping] (again, you might have to go to more). You should just be
able to select an axis and hit [Fit], but if that doesn't work right, you
can always edit the values manually:
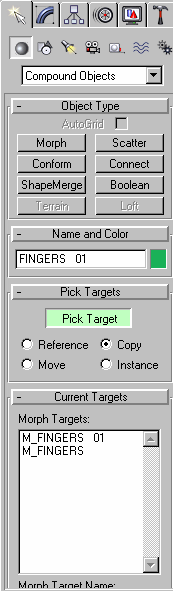
Remember that clone made back in the
beginning? Here's why. Go to [Morph], click on [Pick Target],
then click on the cloned fingers. This will return the fingers to
their original shape.
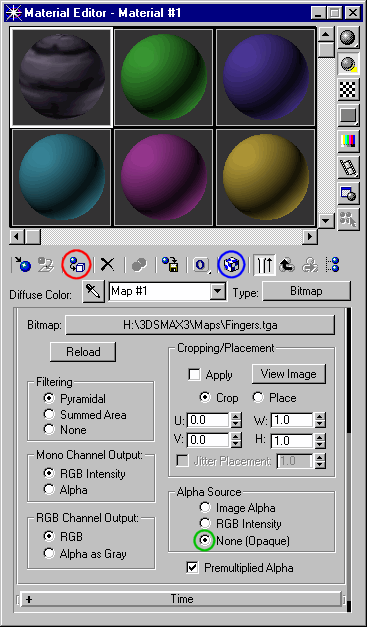
Now it's time to put the texture on.
Click on the rendering tab up on the top, then click on the button that
looks like 4 colored balls. You should get a window with a bunch
on colored spheres. Pick one, then click on the button next to "Diffuse:"
(circled in red below). Select bitmap and hit ok:

Click on the button next to "Bitmap:"
and select the image you want to use. Apply the texture to the object
you have selected (button circled in red). Make sure you shut off
Alpha as this might have undesired effects (circled in green). You
will probably want to enable the texture in the view port (circled in blue):
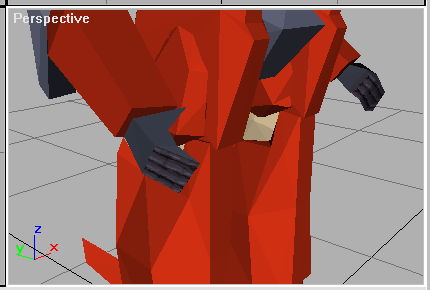
You should see the texture in the 3d
view port now:
 One thing left to do. Gotta get
rid of that clone. :) Just select it and hit delete. Be careful
not to delete the one you just texture mapped! :)
One thing left to do. Gotta get
rid of that clone. :) Just select it and hit delete. Be careful
not to delete the one you just texture mapped! :)
That pretty much sums it up... now
get busy! Lots of work ahead! :)
Note...
- Be sure to save backups often!
As frustrating as this might be, it's even more frustrating when you screw
up and don't have a backup.
- This isn't the method to use for
Quake, Quake2, and most game models. It's a tutorial for special
cases since I doubt one like this exists anywhere :)
- It might, however, be a good method
to make Quake3 models, but I haven't messed with those yet, and I'll likely
write a new tutorial for them when I do. |