Creating Q2 Textures With Photoshop
So you've got this great map idea
but you need some custom textures for it? No problem. Q2 textures
are pretty easy to make. If this tutorial seems a bit long, you can
probably just look at the pics and figure it out. :)
The first thing you need to do is install
the WAL plugin. Grab that here.
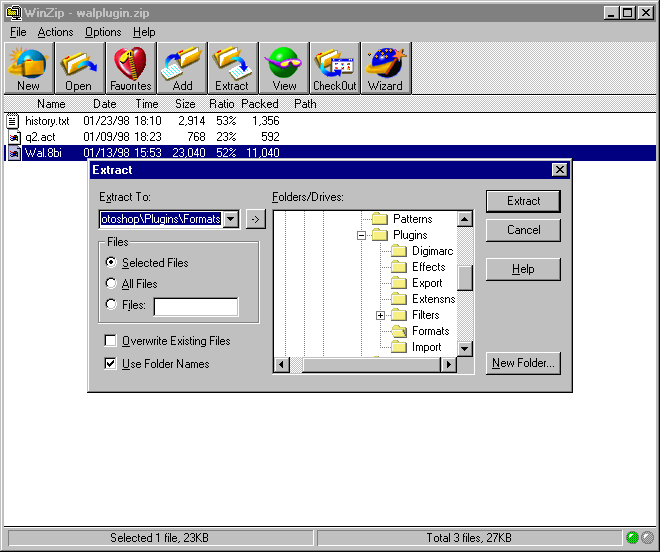
Extract the wal.8bi file to Photoshop's plugin formats directory (most
likely "C:\Adobe\Photoshop\Plugins\Formats\"):
Once you've done that, fire up Photoshop
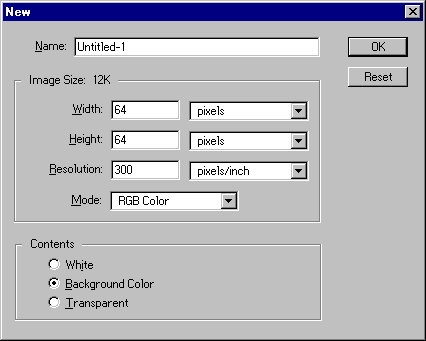
and create a new image. The image must have dimensions in multiples
of 8 (64x64, 128x128, etc.):
Now you're ready to make your texture.
I've got the wall of those large, black, plastic tubes used in paintball
fields (splattered with blue paint):

Once you're done, you'll need to load
the Quake2 palette. If you're making textures for a mod such as Paintball
II that has a custom palette, you'll need to load that instead. You
can grab the Adobe palette files for Quake, Quake2, and Paintball2 here.
To load a palette go to Image|Mode|Indexed Color...:
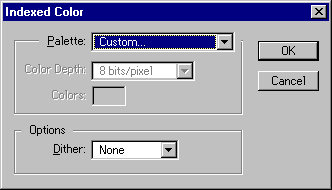
Set the palette to "Custom..." and
you'll probably want to set Dither to "None" to prevent speckles all over
your texture. Hit OK:
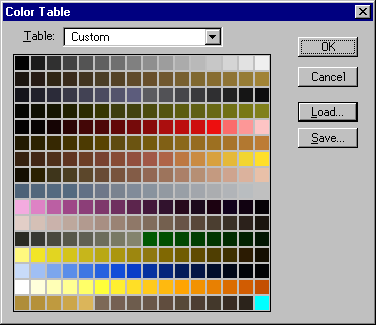
Click on "Load..." and select the palette
you want. I'm going to use one of the Paintball2 ones, since this
is a paintball texture, but you'll most likely be using the regular Quake2
palette:
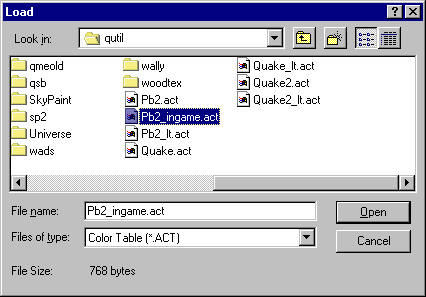
Hopefully you won't get too much color
loss. If the image looks really crappy after you load the palette,
you might want to redo it so it uses colors closer to those of the ones
in the palette.

If it looks good, you're ready to save
it. Go to File|Save As... For the "Save As" type, select WAL.
Change your directory to quake2\<moddir>\textures\<texturedir>\.
I'm saving mine as "b_tube1.wal" in quake2\pball\textures\pball\:
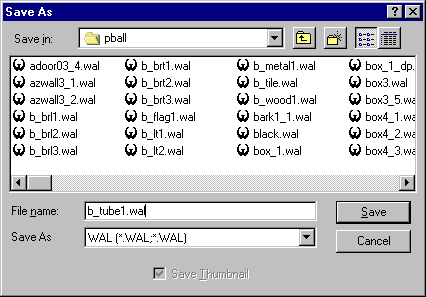
It will prompt you for the full texture
name. You can put in the <texturedir>\<texturename>, but it
works fine if you just use the texture name again (without the .wal):
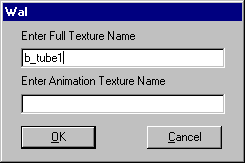
If you want to have an animated texture,
enter the name of the next texture in the animation under "Enter Animation
Texture Name." When you get to the last texture in the animation,
enter in the name of the first texture so it loops.
Note: This tutorial was written
for Adobe Photoshop 4.0. There may be some slight differences in
other versions.
If you want the same tutorial for
Paint Shop Pro, click here.
If I left out any details, screwed
something up, etc, email me:
jitspoe |
